February 04, 2026
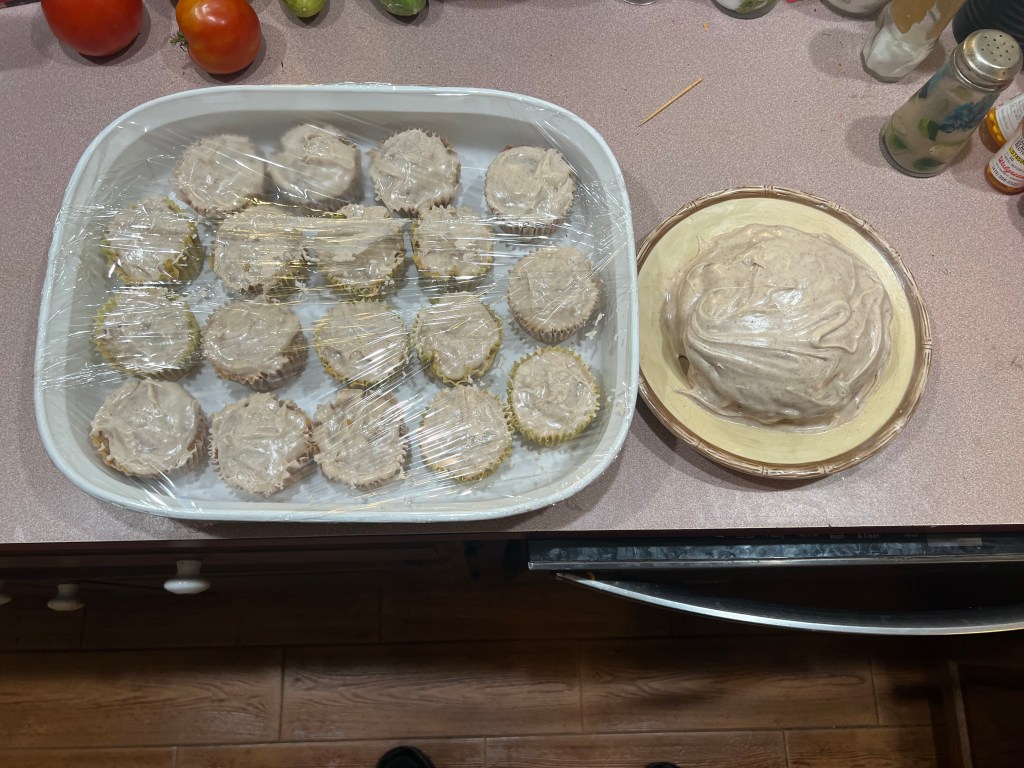
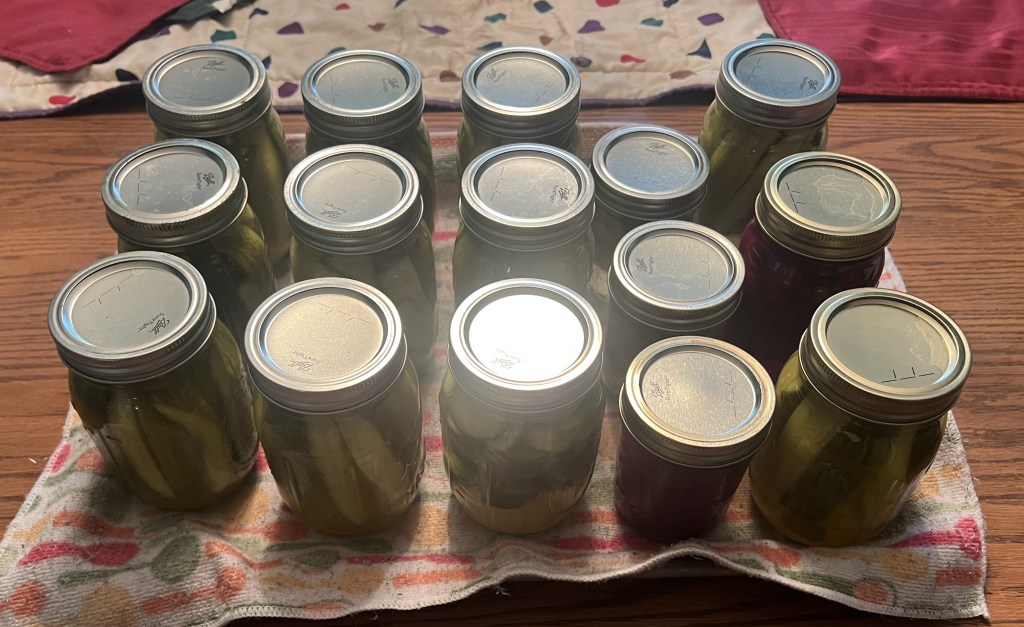
Melissa and I seem to be in constant search to find what to eat for dinner. The task is made more difficult as I rarely go to the store to buy specific items for the evening’s meal and instead try and find innovative ways to cook what we already have on hand. This approach is made more so as I try and use up leftovers or clear out the produce that I canned or frozen over last year’s growing season. Several days ago, I had scrounged a packet of chicken pieces (breasts and thighs) I had frozen to make chicken and rice casserole. I have a set recipe in my mind for how to make this dish, but I am still toying with how to get the rice to come out perfectly. I have followed on-line recipes, and it will often come out either crunchy (too little liquid) or mushy (too much liquid). The other issue is it is made in a 9-inch (23 cm) by 13-inch (33 cm) glass dish. This makes a ton of casserole! While I seem to have no problem eating all the rice, the leftover chicken is a harder sell (especially breasts). While scrolling on-line this afternoon I came across a sausage and chicken gumbo recipe.
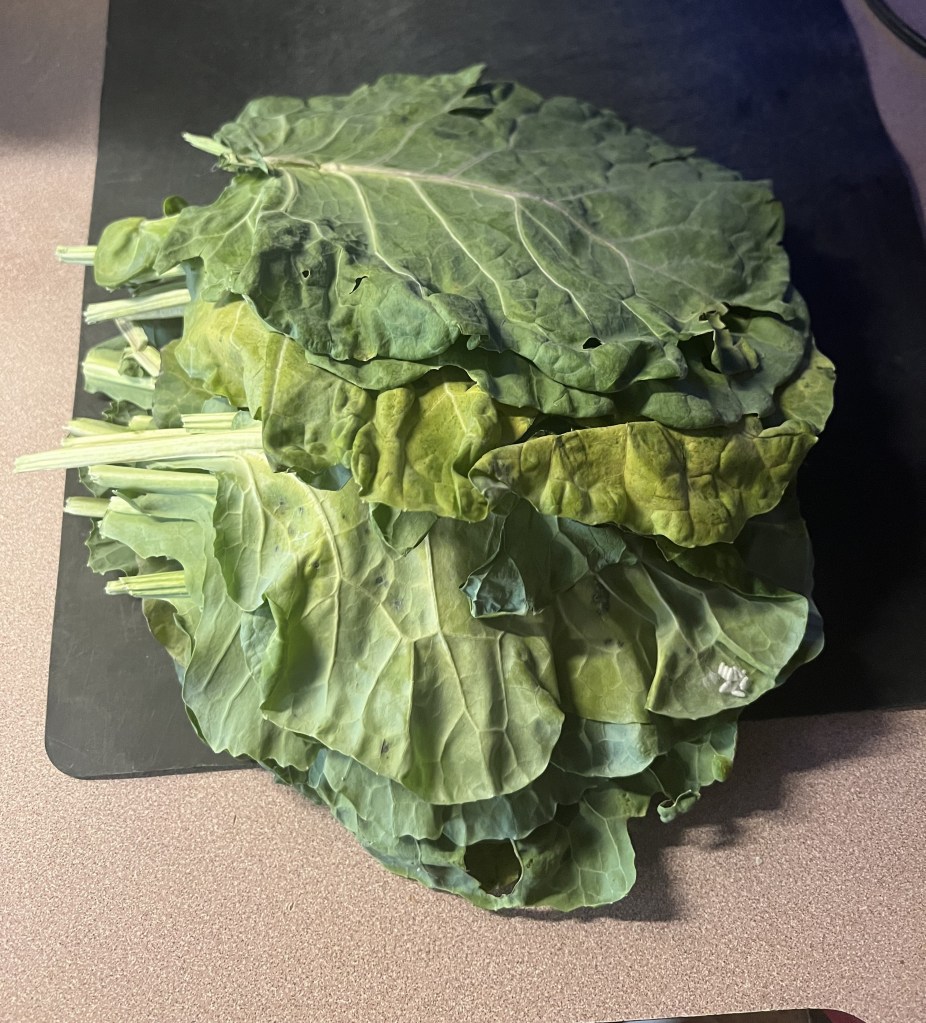
When I went online, I found gumbo (Louisiana Creole: Gum-bo) is a stew that is popular among the US Gulf Coast community. The dish combines ingredients and culinary practices of several cultures, including Central and West African, French, German, Spanish, and Native American Choctaw. A gumbo consists primarily of a strongly flavored stock, meat or shellfish (or both), a thickener, and the Creole “holy trinity” (celery, bell peppers, and onions). The preferred method in the historical New Orleans variation has a French-inspired dark, even chocolate-like, roux (flour and fat mixture) that is the official state cuisine of Louisiana. Creole gumbo generally contains shellfish and a dark roux. Cajun gumbo is generally based on a dark roux and is made with shellfish or fowl. Sausage or ham is often added to gumbos of either variety. After the base is prepared, vegetables are cooked down, and then meat is added. The dish simmers for a minimum of three hours, with shellfish and some spices added near the end, and traditionally served with rice. A third, lesser-known variety, the meatless gumbo (z’herbes) is essentially a gumbo of slow-cooked greens. Gumbo was first described in 1802 and was listed in various cookbooks in the latter half of the 19th century.
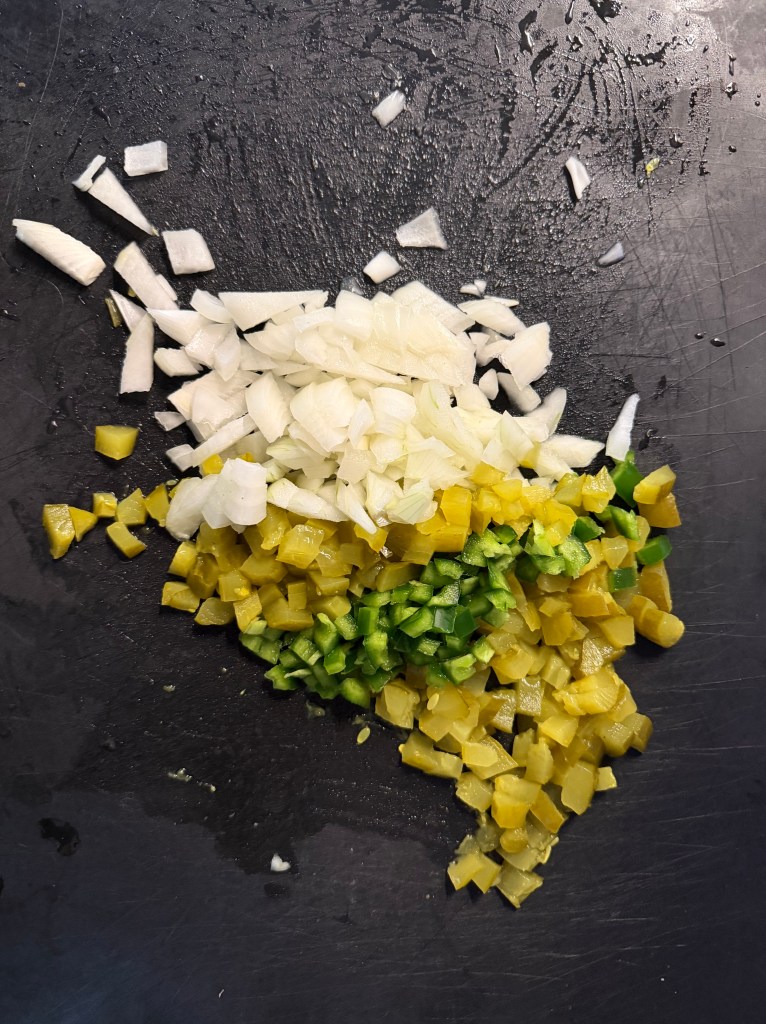
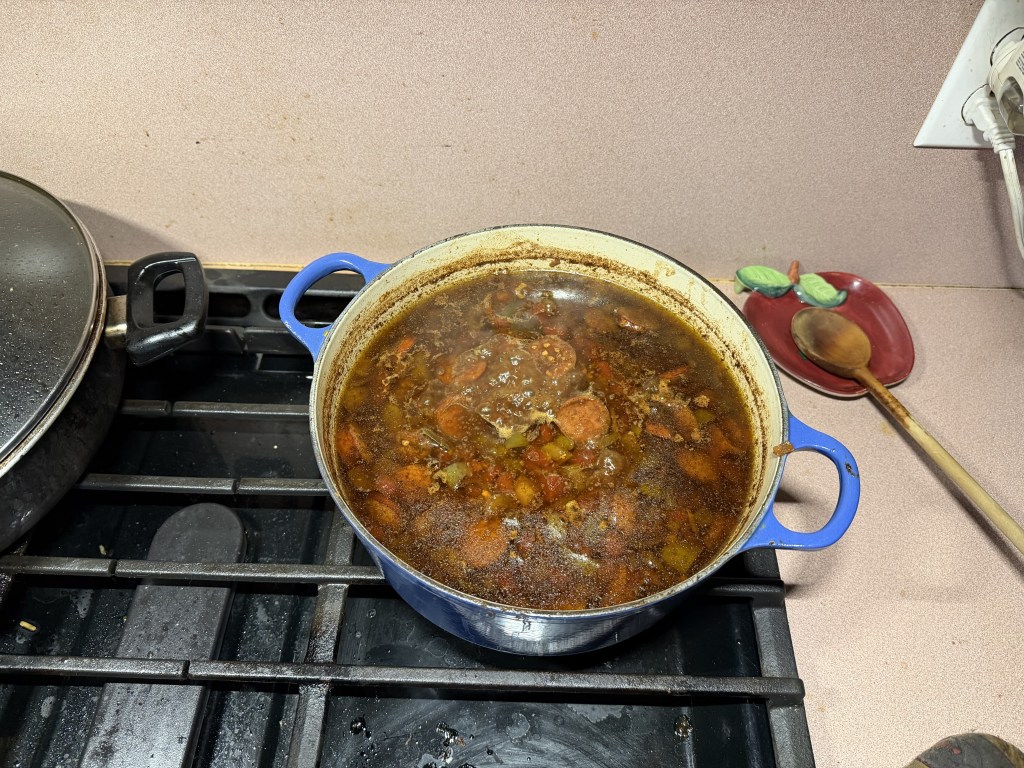
My decision to make gumbo was a mix of trying something new and my desire to use the leftover chicken in the refrigerator and the half-pack of kielbasa in the freezer. I have made variations of this dish before, but this is the first time I started from a roux. Being a creature of habit, I only partially followed the recipe. I started by baking the flour in the oven at 350F (177.6C) for 45 minutes for the darkened color and to add a toasty flavor to the roux. While the flour was baking, I got restless and went ahead and sautéed the cut-up chicken and sausage as well as the trinity (different pans). The roux itself was a mix of vegetable oil (olive) and toasted flour that was cooked down on low heat for 35 minutes. Since the vegetables had already softened, I placed them in the pot along with a can of Rotel tomatoes and chilies, Cajun spices, cayenne pepper, and six cups of chicken broth. Next came the chicken and sausage and a Bay leaf for flavor. The on-line recipe suggested letting the gumbo simmer for “1 to 2 hours” rather than the noted minimum of three. I put the finished ingredients on around 4 pm and we will not eat until after 7. That should give the flavors enough time to meld.
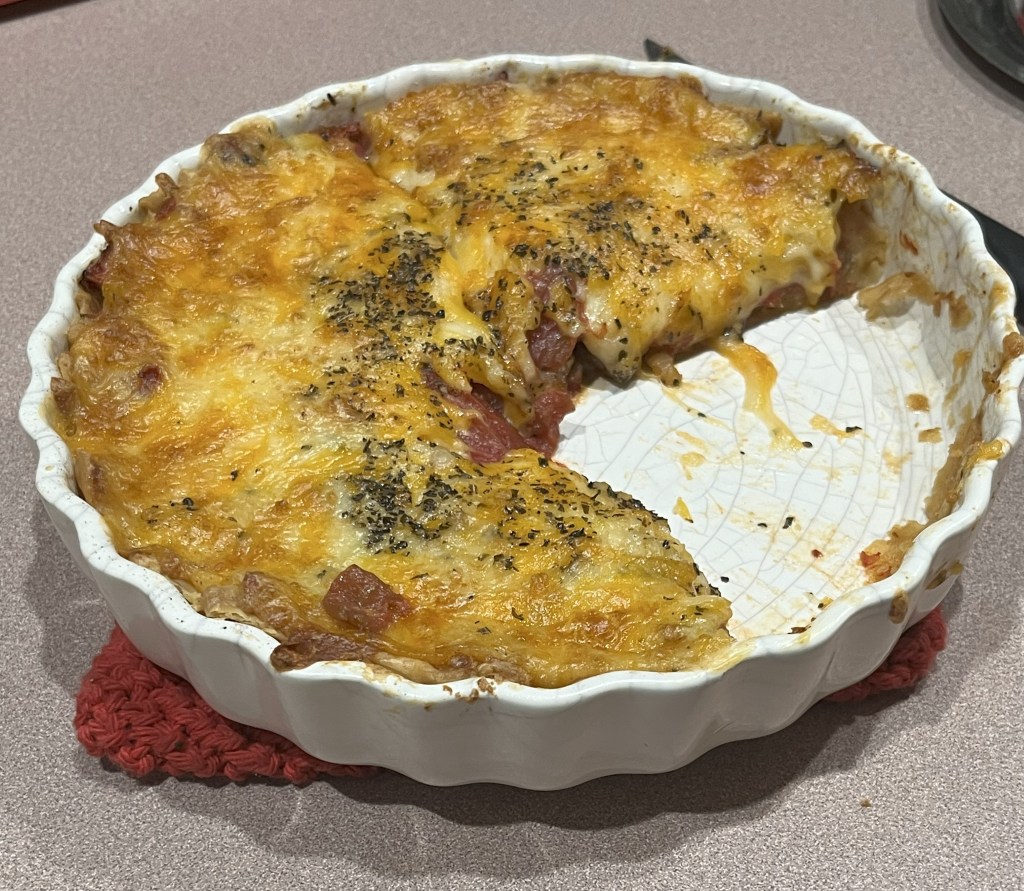
THOUGHTS: When I made my Gumbo, I used the eyeball measuring approach. Between that and my hand slipping when I was “measuring” the cayenne the dish came out spicy hot. I have learned (from Melissa) that one way to cut the heat is to add sugar. I tasted the mixture again to be sure, then added two tablespoons of sugar. I am looking forward to having Gumbo over white rice tonight. We can all stand to learn new ways from each other. Between Zydeco dancing and Cajun dishes, who can go wrong? Act for all. Change is coming and it starts with you.